
[ad_1]
Dust off those doilies that your grandma passed down to you, or head to the textiles section of the thrift store the next time you’re there to grab a stockpile. Why? Because there are so many genius ideas for repurposing thrifted vintage doilies around the house. Many of the ideas result in stunning wall art, including a DIY on the Our Upcycled Life YouTube channel. The creator uses a flat wicker tray as the backdrop with a round doily attached in the middle as the centerpiece. It’s simple yet impactful on your wall.
And while the original creator refers to the base as a wicker tray or basket, it looks a lot like those wicker paper plate holders many of us grew up with. If you’re lucky, you’ll run into a pile of them at a thrift store for cheap. But if you can’t find them used, you can buy something similar brand new — Walmart offers these Stock Your Home Bamboo Paper Plate Holders. For this DIY, you can use similar flat wicker trays or baskets in a round shape (like the inspiration project features), or in a square or rectangular shape.
The other main material is at least one doily. For a simple design, find a doily that’s the same shape and just slightly smaller than the basket you’re using. Or, create a collage-style display with several doilies and other embellishments layered onto the wicker backdrop. You’ll also need something to attach the doily — hot glue works well.
Read more: 10 Smart Ways To Use Lids From Old Pots & Pans Around The House Instead Of Tossing Them
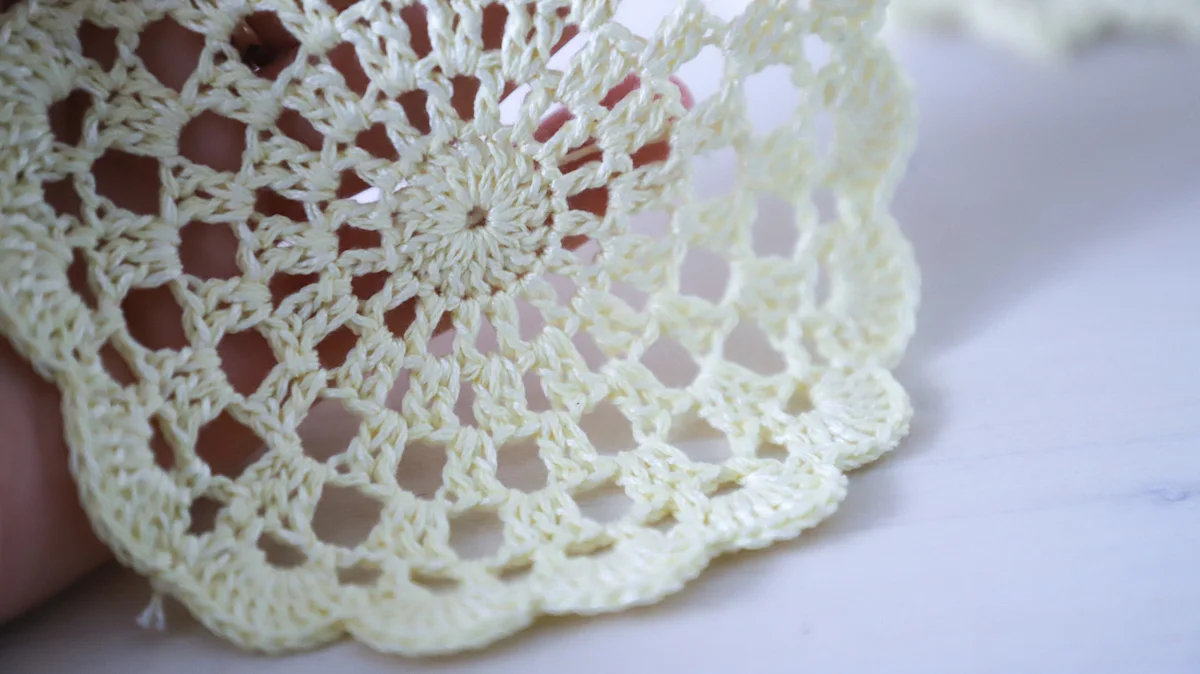
Transform a wicker tray and doilies into wall art
DIY wall decor made from wicker backing and a vintage doily hanging on a wall near other decor – Our Upcycled Life/YouTube
For the most basic version of this wall decor, take a wicker plate holder or tray and a similarly sized and shaped doily. Position the doily in the center of the plate, and lift the edges, putting small dots of hot glue every few inches around the edge. If you have a large tray or especially small doilies, lay out an arrangement of multiple doilies, either spaced out or overlapping. When you’re happy with the design, glue the pieces down.
Of course, there’s always room for creativity with colors and embellishments. To change the color of the doilies, soak them in dye, following the package instructions, to achieve the look you want. Spray painting the wicker lets you mix different color combinations for the wall art. Once you get the colors you want, attach the doilies as previously described.
And while the inspiration project leaves the design simple and classic, you can jazz it up with other embellishments. For example, transform vintage doilies into flowers, and attach them to the display. For a little sparkle, add sequins or gemstones onto the design. For a framed effect, secure a leather strip or ribbon around the outer edge of the wicker. When you’re happy with the results, use the wicker doily display to decorate a blank wall or enhance an existing gallery wall. You can hang a single piece or arrange multiples in different sizes together. A simple hidden wire allows the doily to remain the focus, or use a longer wire, ribbon, or rope to create a visible hanger.
Want more design inspiration? Join our free newsletter to get the best home and garden tips, design hacks, and DIY projects delivered right to your inbox. You can also add us as a preferred search source!
Read the original article on Hunker.
[ad_2]
Source link